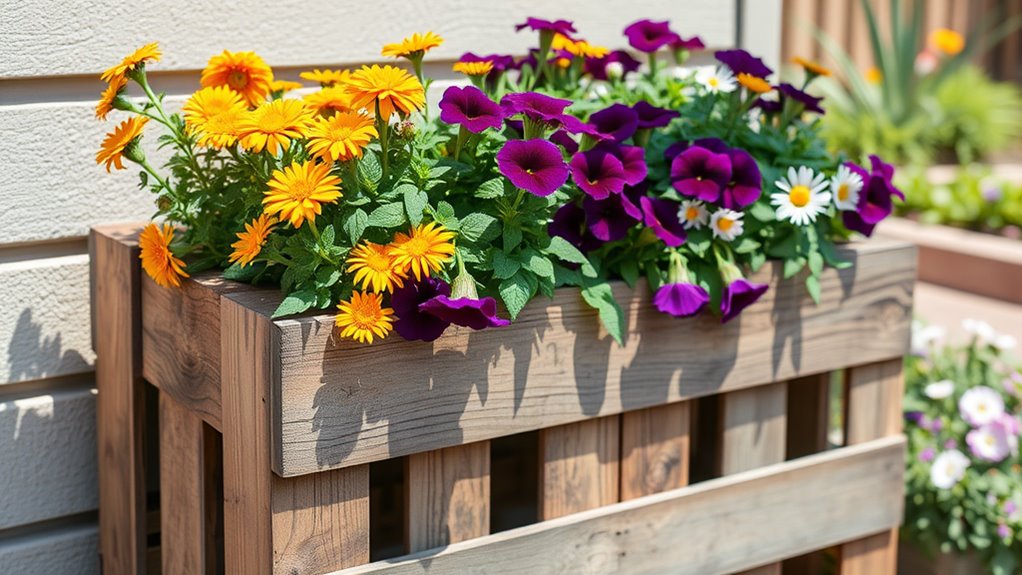
Turn Pallets Into Planters With This DIY Guide
Turn Pallets Into Planters With This DIY Guide
Turning old pallets into stunning planters might just be the easiest way to revolutionize your garden. You’ll find that with a few simple steps, you can create functional and attractive spaces for your plants. Start by selecting the right pallets, and you’ll be on your way to an eco-friendly garden. Curious about how to prepare your pallets for planting? Let’s break down the process and get those green thumbs ready.
Key Takeaways
- Select heat-treated pallets marked with “HT” and inspect them for damage before use for safety and durability.
- Prepare the pallet by cleaning, sanding rough edges, and applying non-toxic sealant if untreated.
- Line the planter compartments with landscaping fabric to retain soil and ensure proper drainage.
- Choose high-quality potting soil, filling compartments while tamping down to eliminate air pockets.
- Select plants based on sunlight requirements and establish a consistent watering and maintenance routine.
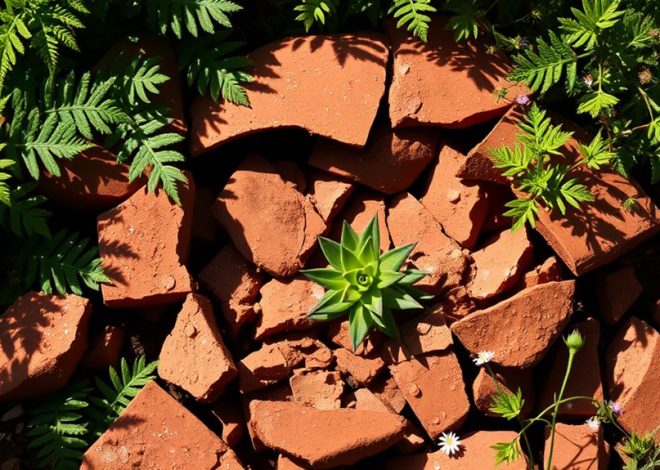
Selecting the Right Pallet
When you’re diving into DIY pallet planters, choosing the right pallet is crucial for both safety and aesthetics.
Look for pallets that are marked with “HT,” which means heat-treated and free from harmful chemicals.
Inspect for any broken boards or loose nails to ensure durability.
Avoid pallets that smell chemical-laden or look stained.
You might also consider the wood type; softer woods like pine are easier to work with, while hardwoods offer more longevity.
Using heat-treated pallets not only enhances your pallet garden DIY project but also ensures your plants thrive in a safe, healthy environment.
Happy planting!
Preparing the Pallet for Planting
Before you start planting, it’s essential to prepare your pallet properly to ensure your plants get the best possible start.
First, clean the pallet thoroughly to remove dirt and debris. Next, check for any damaged or splintered wood, and sand down rough edges to prevent injury.
If your pallet is untreated, consider applying a non-toxic wood sealant to protect it from moisture.
Lay landscaping fabric inside the pallet to retain soil while allowing for drainage.
Finally, fill the compartments with quality potting soil, readying them for your chosen plants. Now you’re set to create a vibrant pallet planter! Additionally, using upcycled materials can enhance your garden’s eco-friendliness while saving costs.
Choosing the Right Location
Where will your pallet planter thrive best?
Start by assessing the sunlight in your space.
Most plants need at least six hours of direct sunlight daily, so choose a location that gets plenty of light.
Next, consider accessibility—place it where you can easily water and tend to your plants.
Ensure the area has good drainage; avoid spots that tend to collect water.
Finally, think about aesthetics; your planter should enhance your outdoor space.
Whether on a patio, balcony, or garden, a well-chosen spot can make all the difference for your plants’ growth and your enjoyment. Additionally, consider implementing effective strategies for maximizing space and plant health in your container garden layout.
Adding a Liner for Soil Retention
To ensure your pallet planter effectively retains soil and moisture, adding a liner is a smart move. You can use landscape fabric, plastic sheeting, or burlap, depending on your preference.
Cut the liner to fit the planter’s dimensions and secure it with staples or nails. Make sure to leave enough overhang to prevent soil from spilling out.
This barrier helps keep the soil in place while allowing excess water to drain, preventing root rot. Additionally, using an upcycled material for your planter not only enhances its aesthetic but also contributes to environmental sustainability.
Filling the Planter With Soil
Once you’ve secured the liner, it’s time to fill your pallet planter with soil.
Start by choosing a high-quality potting mix, which provides the nutrients your plants need.
Fill each compartment of the pallet, leaving about an inch of space from the top.
This prevents soil from spilling out when watering.
As you fill, gently tamp down the soil to eliminate air pockets, ensuring stability for your plants.
If using multiple types of soil, layer them according to your plants’ specific needs.
Finally, water the soil lightly to help it settle before planting your favorite flowers or herbs.
Incorporating a budget-friendly soil mix can significantly enhance the productivity and health of your container garden.
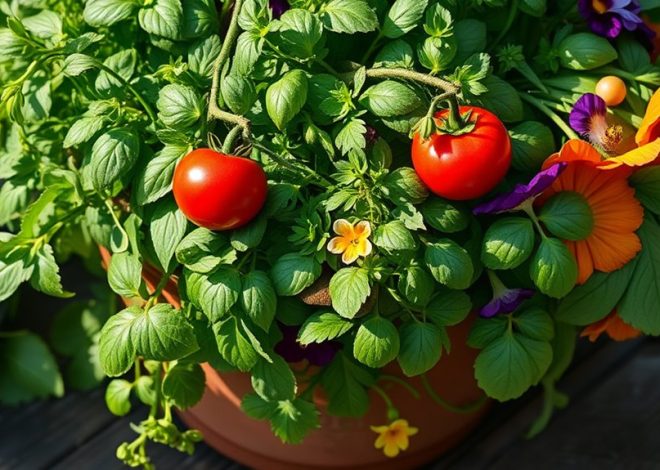
Planting Your Favorite Flowers or Herbs
How do you choose the perfect flowers or herbs for your pallet planter?
Start by considering your climate and sunlight.
For sunny spots, opt for vibrant flowers like petunias or marigolds.
If you prefer herbs, basil and rosemary thrive in full sun.
For shadier areas, go for ferns or shade-tolerant flowers like impatiens.
Next, think about the planter’s layout; mix tall plants with trailing vines for visual interest.
Lastly, consider companion planting—some herbs, like parsley and chives, enhance each other’s growth. Additionally, incorporating companion herb planting can significantly improve pest resistance and overall plant health in your garden.
With these tips, you’re ready to create a beautiful, productive pallet planter that fits your gardening style!
Maintaining Your Pallet Planter
To keep your pallet planter thriving, establishing a consistent watering schedule is key.
You’ll also want to stay vigilant against pests that can hinder your plants’ growth.
Watering Schedule Essentials
What’s the secret to keeping your pallet planter thriving? A consistent watering schedule! Your plants need moisture, but too much can drown their roots. Start by checking the soil; if it’s dry an inch down, it’s time to water.
| Day | Watering Amount | Notes | Plant Type |
|---|---|---|---|
| Monday | 1 cup | For herbs | Basil, Parsley |
| Wednesday | 2 cups | For flowers | Petunias, Marigolds |
| Friday | 1.5 cups | For vegetables | Tomatoes, Peppers |
| Sunday | 1 cup | General upkeep | Mixed plants |
Adjust as needed!
Pest Control Tips
Have you noticed some unwelcome guests in your pallet planter? Pests can quickly ruin your hard work, but you can take action.
Start by inspecting your plants regularly for any signs of damage or infestation.
Introduce beneficial insects like ladybugs and lacewings that naturally control pests.
You can also use insecticidal soap or neem oil as natural deterrents.
Keep your planter tidy; remove debris that attracts pests.
Finally, consider companion planting to deter unwanted insects.
With these simple tips, you’ll maintain a healthy, thriving pallet planter while keeping pests at bay. Happy gardening!