My Favorite Way to Upcycle Old Jars Into Garden Tools
My Favorite Way to Upcycle Old Jars Into Garden Tools
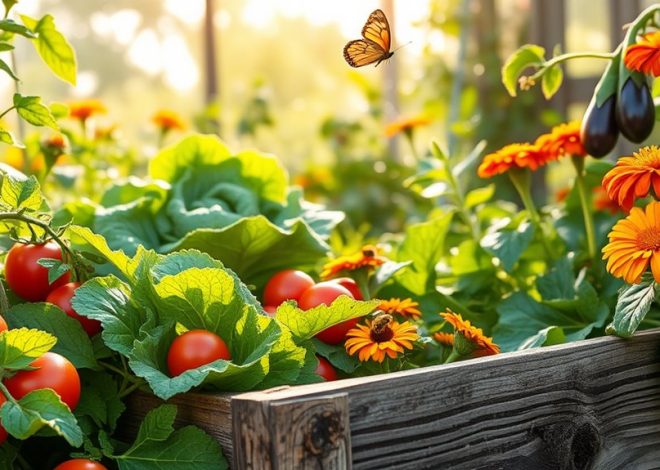
Imagine a garden adorned with colorful, repurposed jars, each serving a practical purpose. Upcycling old jars into garden tools not only saves money but also adds a unique charm to your outdoor space. From creating customized plant markers to transforming jars into watering globes, the possibilities are endless. But before you start your project, you need to know how to choose the right jars for your needs and ensure they last through the seasons.
Key Takeaways
- Select sturdy jars like glass or thick plastic to ensure durability when upcycling for garden tools.
- Transform jars into seed starters by cleaning them, adding drainage holes, and filling with nutrient-rich potting mix.
- Create customized plant markers using old jar lids, labeling them with permanent markers for clear identification.
- Make DIY watering globes by filling larger jars with water and positioning them in shaded areas for gradual release.
- Use Mason and pickle jars for organizing garden tools, decorating them to match your garden theme for added charm.
Choosing the Right Jars for Upcycling
When it comes to upcycling old jars into garden tools, how do you choose the right ones? Start by selecting jars with sturdy materials like glass or thick plastic; they’ll withstand outdoor conditions better.
Look for varied sizes—smaller jars work great for scoops or measuring tools, while larger ones can become watering containers.
Make sure the lids are intact; you can use them for securing tools or even as labels.
Avoid jars with cracks or sharp edges. Additionally, consider jars that previously contained food, as their sturdy materials often make them ideal for repurposing in the garden.
Transforming Jars Into Seed Starters
Ever wondered how you can turn those old jars into effective seed starters?
Start by thoroughly cleaning your jars to remove any residue.
Next, poke small drainage holes in the bottom to prevent waterlogging.
Fill each jar with a nutrient-rich potting mix, leaving an inch of space at the top.
Plant your seeds according to the instructions, then lightly water them.
Place the jars in a sunny spot, ensuring they get ample light.
Cover them with a plastic wrap to create a greenhouse effect, maintaining moisture.
Soon, you’ll have thriving seedlings ready to transplant into your garden! Additionally, using upcycled materials like jars not only reduces waste but also contributes to an eco-friendly paradise.
Creating Customized Plant Markers
Customized plant markers can bring a personal touch to your garden while helping you keep track of your plants.
Start by cleaning old jar lids or pieces of glass.
Use a permanent marker or paint to label each one with the plant name, planting date, or care instructions.
For a rustic look, tie twine around the jars and attach the markers.
You can also use waterproof paint for added durability.
Place these markers in your garden beds or pots, ensuring they’re visible.
This simple project not only organizes your garden but also adds charm and character to your outdoor space. Additionally, using upcycled materials for your garden decor is a great way to enhance your outdoor space without breaking the bank.
Making DIY Watering Globes
Creating DIY watering globes from old jars is a clever way to keep your plants hydrated. Start by choosing the right jar, then master the filling techniques for optimal moisture release. Finally, you’ll want to consider the best placement in your garden to ensure your plants get the most benefit. Using self-watering pots can also enhance your gardening experience by providing consistent moisture levels for healthier plants.
Choosing the Right Jar
How do you choose the right jar for making DIY watering globes?
Selecting the perfect jar can enhance your gardening experience.
Here are three key factors to consider:
-
Size: Opt for jars that are at least 16 ounces. Smaller jars may not hold enough water for your plants.
-
Material: Glass jars work best. They’re durable and allow you to monitor the water level easily.
-
Neck Width: A wider neck makes filling the jar easier and prevents spills during the process.
With these tips, you’ll be ready to create effective and stylish watering globes for your garden!
Filling Techniques Explained
When it comes to filling your DIY watering globes, what techniques can make the process smoother and more efficient?
First, use a funnel to avoid spills; it directs water neatly into the globe.
Next, fill your jar with water, leaving a little air space at the top.
This air pocket creates pressure, allowing the globe to release water gradually.
If you’re using soil, pack it lightly to ensure the roots can absorb moisture.
Lastly, consider adding a few drops of liquid fertilizer for extra nutrients.
With these techniques, your watering globes will be ready to nourish your plants effectively!
Placement in Garden
After mastering the filling techniques for your DIY watering globes, it’s time to consider their placement in your garden for maximum effectiveness.
Proper positioning ensures your plants get the hydration they need.
Here are three key tips:
-
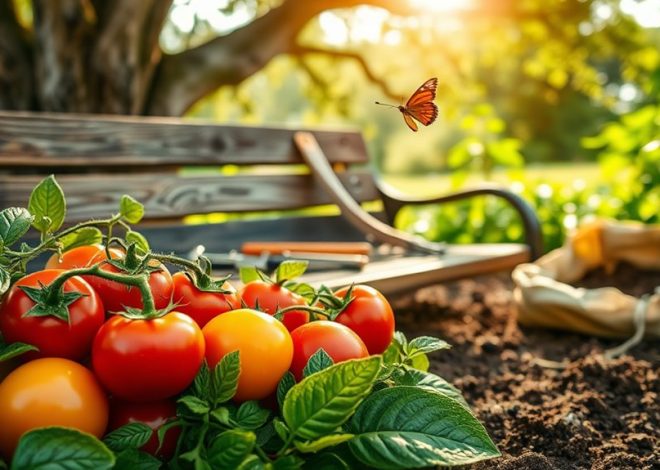
Target Thirsty Plants: Place globes near plants that require extra moisture, like tomatoes or peppers.
-
Avoid Direct Sunlight: Position them in shaded areas to prevent evaporation, maximizing water retention.
-
Spacing Matters: Space globes evenly to cover a larger area, ensuring all plants benefit from consistent watering.
With these strategies, your upcycled jars will thrive alongside your garden!
Crafting Garden Tool Holders
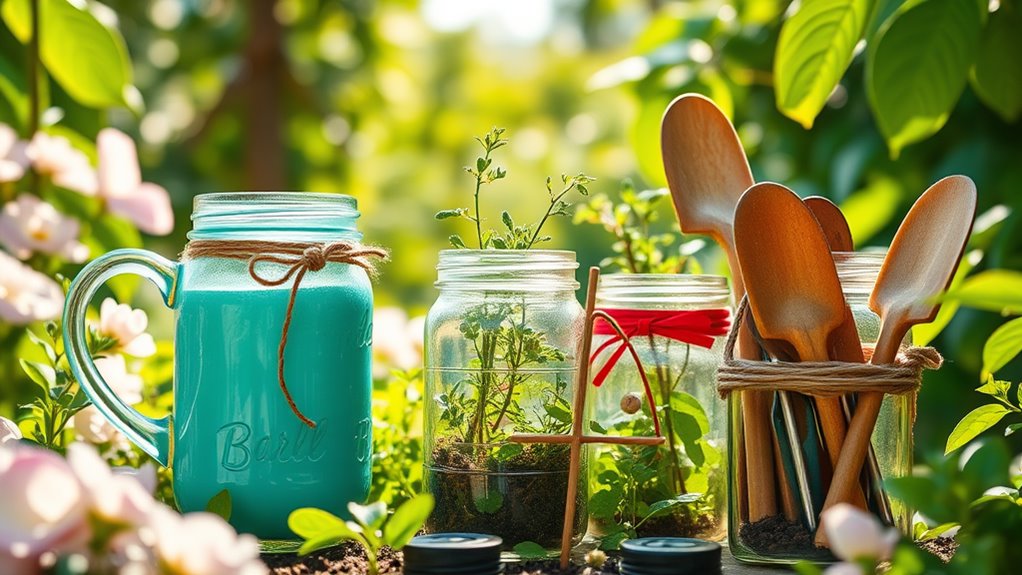
You can easily transform old jars into stylish garden tool holders that not only keep your tools organized but also add a touch of charm to your space.
Consider using various jar types, like mason or pickle jars, to suit your needs, and get creative with decorations using paint, twine, or labels. This practical project not only upcycles but also enhances your gardening experience, and you can even use them to store DIY solar lights for a charming evening glow.
Jar Types to Use
Choosing the right jars for crafting garden tool holders can make all the difference in both functionality and aesthetics. Here are three types of jars to consider:
- Mason Jars: Their sturdy glass and wide mouth make them perfect for holding tools like trowels and pruners.
- Pickle Jars: Often larger, these jars can accommodate bulkier tools and provide a rustic charm to your garden.
- Spice Jars: Use these smaller jars for organizing garden markers or seed packets, keeping everything neatly contained.
With the right jars, you’ll create practical and eye-catching holders that’ll enhance your gardening experience.
Creative Decoration Ideas
Once you’ve selected the perfect jars for your garden tool holders, it’s time to infuse them with personality and style.
Start by painting the jars with bright, weather-resistant paint to match your garden theme.
You might also wrap twine or burlap around the tops for a rustic touch.
Adding labels can help you organize tools while adding charm—consider using chalkboard paint for reusable options.
For a whimsical look, attach decorative elements like small flowers or garden-themed stickers.
Finally, secure a sturdy hook on the wall or fence to display your charming creations, turning functional storage into a delightful garden accent.
Tips for Maintaining Your Upcycled Garden Tools
How can you ensure your upcycled garden tools remain effective and durable?
Maintaining them is key to enjoying their benefits for years.
Here are three simple tips:
-
Clean Regularly: After use, rinse off soil and debris to prevent rust and damage. A soft brush works wonders.
-
Inspect for Wear: Check for cracks or breaks, especially on handles. Address any issues promptly to avoid further damage.
-
Store Properly: Keep your tools in a dry place, away from direct sunlight. This helps prevent fading and deterioration. Additionally, consider using repurposed materials to create functional storage solutions that will further protect your tools.