How I Grow Garlic Indoors in Just a Few Steps
How I Grow Garlic Indoors in Just a Few Steps
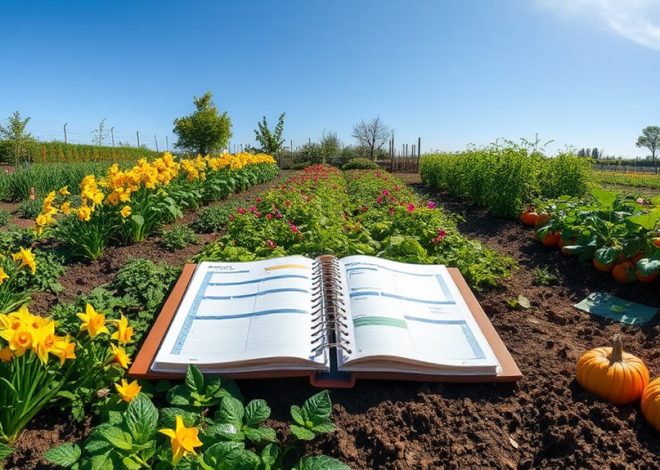
Many believe that growing garlic indoors is a complicated process, but it can actually be quite straightforward. By choosing the right variety and understanding a few essential steps, you can successfully cultivate garlic in your home. From selecting the perfect container to ensuring optimal light and moisture, each detail matters. So, how do you get started and ensure a bountiful harvest? Let’s explore the key steps to growing garlic indoors effectively.
Key Takeaways
- Choose disease-free, large organic cloves from softneck varieties like ‘Artichoke’ for better indoor growth.
- Use pots at least 8-10 inches deep with drainage holes and fill with a well-draining soil mix.
- Plant cloves pointed end up, 2 inches deep, and space them 4-6 inches apart in a sunny location.
- Water when the top inch of soil is dry and provide 12-14 hours of light daily with grow lights.
- Harvest when lower leaves yellow, cure in a cool area for two weeks, then trim and store.
Choosing the Right Garlic Variety
When it comes to growing garlic indoors, choosing the right variety is crucial for success. Opt for softneck varieties like ‘Artichoke’ or ‘Silverskin,’ as they adapt well to indoor conditions and produce multiple bulbs.
These types thrive in pots and can tolerate the lower light levels typical of indoor spaces. Hardneck varieties, while flavorful, may struggle without sufficient light.
When you grow garlic indoors, ensure you select disease-free bulbs to prevent issues later. Look for bulbs with plump cloves, as these will yield better results. Additionally, the right containers can support healthy growth by providing adequate drainage and space for root development.
Your choice of variety can make all the difference in achieving a successful indoor garlic harvest.
Selecting the Perfect Container
When selecting a container for your indoor garlic, size plays a crucial role in its growth.
You’ll need a pot with adequate drainage to prevent waterlogging, which can lead to root rot.
Additionally, consider the material of the container, as it can affect moisture retention and overall health of your garlic plants. Choosing a container made from a specific material can greatly enhance your gardening success.
Container Size Matters
Choosing the right container for your indoor garlic is crucial for its growth and overall health. A container that’s too small can restrict bulb development, while one that’s too large may lead to overwatering. Aim for a pot that’s at least 8-10 inches deep and wide enough to accommodate several cloves.
Here’s a quick reference for container sizes:
| Container Size | Ideal for Cloves | Number of Cloves |
|---|---|---|
| Small (6-8″) | Individual bulbs | 1-3 |
| Medium (8-10″) | Clusters | 3-5 |
| Large (10-12″) | Full growth | 5-7 |
Drainage Is Essential
Proper drainage is vital for healthy garlic growth indoors. When selecting a container, ensure it has several drainage holes at the bottom. This allows excess water to escape, preventing root rot and other moisture-related issues.
You can use pots, buckets, or even repurposed containers, as long as they provide adequate drainage. If your chosen container lacks holes, consider drilling some yourself.
Additionally, place a layer of gravel or small stones at the bottom to further enhance drainage. This simple step will create a healthy environment for your garlic, promoting robust growth and a bountiful harvest.
Material Choices Explained
Selecting the right material for your garlic container can significantly impact its growth.
Opt for breathable materials like terracotta or unglazed ceramic; these allow excess moisture to escape, preventing root rot.
Plastic containers are lightweight and affordable, but ensure they’ve adequate drainage holes to avoid waterlogged soil.
Metal containers can heat up quickly, which may stress your plants, so use them cautiously.
Ultimately, choose a container that suits your space and complements your garlic’s needs.
Preparing the Soil Mix
Creating the right soil mix is essential for successfully growing garlic indoors.
You’ll want a well-draining mix that provides the necessary nutrients.
Here’s what you should include:
- Organic compost for essential nutrients and improved structure.
- Perlite or vermiculite to enhance drainage and aeration.
- Coconut coir or peat moss to retain moisture without becoming waterlogged.
Combine these ingredients in equal parts to create a balanced mix.
This blend will support healthy root development and ensure your garlic gets the moisture and nutrients it needs. Additionally, testing your soil for pH and nutrient levels can help you optimize your soil health for better garlic growth.
Take your time to prepare the soil mix; it sets the foundation for a successful indoor garlic garden!
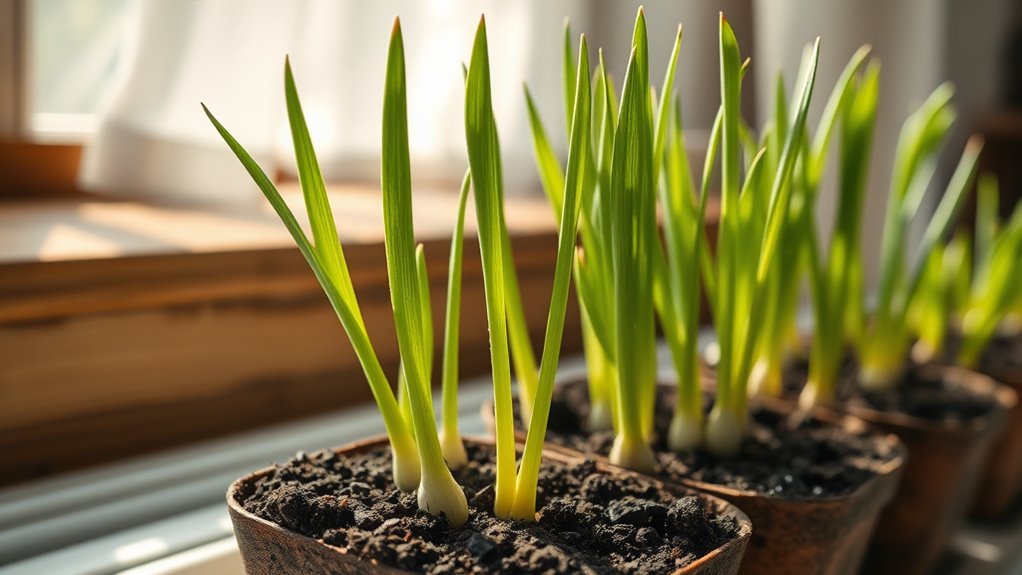
Planting the Garlic Cloves
Once your soil mix is ready, it’s time to plant the garlic cloves. Start by separating the cloves from the bulb, ensuring you choose the largest ones for better yields.
Plant each clove, pointed end up, about 2 inches deep into the soil. Space them at least 4 inches apart to allow for growth.
Gently cover the cloves with soil, and press down lightly to eliminate air pockets.
Water the area thoroughly but avoid over-saturating the soil. This will help the cloves settle in nicely. Additionally, you can enhance your indoor gardening by trying to regrow herbs from scraps, which can complement your garlic as they thrive in similar conditions.
With everything in place, you’re one step closer to growing your own indoor garlic!
Providing Optimal Light Conditions
To ensure your garlic thrives indoors, it’s crucial to provide adequate light conditions, as insufficient lighting can hinder growth and reduce yields.
Garlic needs about 12 to 14 hours of light each day.
You can achieve this by using:
- Full-spectrum grow lights: They mimic natural sunlight and promote healthy growth.
- Positioning near windows: South-facing windows offer the best natural light, but be cautious of drafts.
- Rotating your plants: This ensures even light distribution, preventing leggy growth.
Additionally, maintaining optimal light conditions is essential for the overall health of your indoor herb garden.
Watering and Fertilizing
Watering and fertilizing your indoor garlic are crucial for its growth and health.
You’ll want to establish a consistent watering schedule while selecting the right fertilizer to provide essential nutrients. Keep an eye out for signs of overwatering, like yellowing leaves, to ensure your garlic thrives. Additionally, avoiding common mistakes in watering practices can significantly improve your plant’s overall health and productivity.
Watering Frequency Guidelines
Establishing a proper watering routine is crucial for growing garlic indoors, as it directly influences the plant’s health and bulb development.
Here are some guidelines to follow:
- Water when the top inch of soil feels dry to the touch.
- Ensure the pots have drainage holes to prevent overwatering.
- Reduce watering frequency as the plants mature, especially before harvesting.
Choosing the Right Fertilizer
Choosing the right fertilizer is essential for nurturing healthy garlic plants indoors. You’ll want a balanced fertilizer with a higher phosphorus content to promote strong root development. Look for one with an N-P-K ratio of 5-10-10. Apply it every four to six weeks, following the manufacturer’s guidelines.
| Fertilizer Type | N-P-K Ratio | Application Frequency |
|---|---|---|
| All-Purpose | 10-10-10 | Every 4-6 weeks |
| Bone Meal | 4-12-0 | Every 6-8 weeks |
| Fish Emulsion | 5-2-2 | Every 4 weeks |
| Organic Mix | 6-4-4 | Every 5 weeks |
| Slow-Release | 14-14-14 | Every 8-10 weeks |
This approach ensures your garlic gets the nutrients it needs to thrive.
Signs of Overwatering Issues
Overwatering can lead to serious problems for your indoor garlic, and recognizing the signs early is crucial for saving your plants.
Keep an eye out for these indicators:
- Yellowing Leaves: If the leaves turn yellow and droop, it’s often a sign they’re drowning.
- Mold Growth: White mold on the soil surface indicates excess moisture.
- Root Rot: If you notice a foul smell or mushy roots when inspecting the plant, it’s time to act.
To prevent overwatering, ensure your pots have drainage holes and let the soil dry out slightly between waterings.
Your garlic will thrive with proper care!
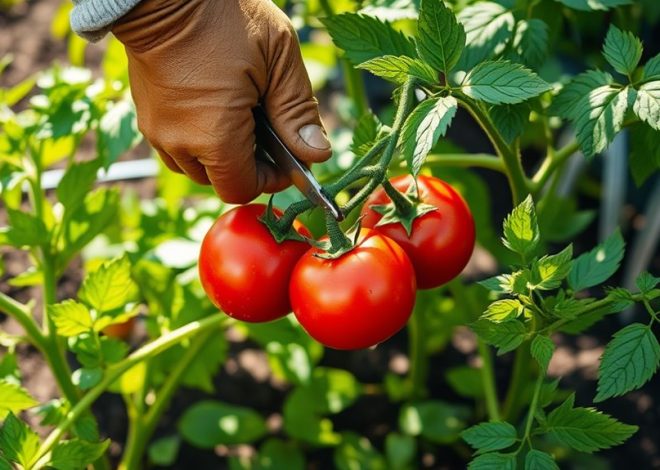
Harvesting Your Indoor Garlic
When the lower leaves of your indoor garlic plants start to yellow and dry out, it’s a clear sign that it’s time to harvest.
Gently pull the bulbs out of the soil, using a fork or your hands, being careful not to bruise them.
Shake off excess soil, but don’t wash the bulbs, as moisture can lead to rot.
Lay them out in a cool, dry area with good air circulation for about two weeks to cure.
After curing, trim the roots and cut the stems to an inch above the bulb.
Now your garlic’s ready for storage or use!