How I Grow Salad Greens on My Kitchen Counter
How I Grow Salad Greens on My Kitchen Counter
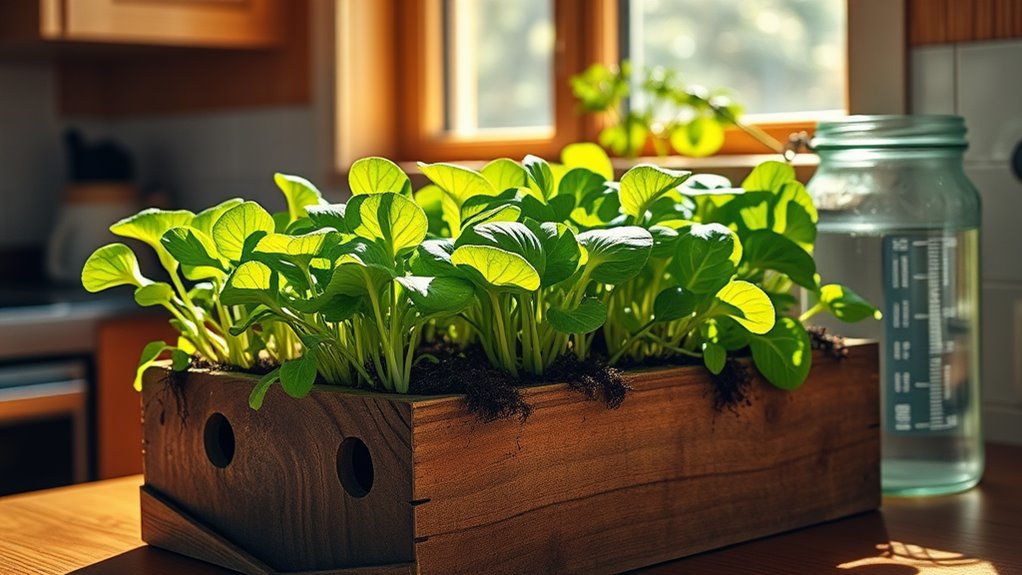
Did you know you can grow fresh salad greens right on your kitchen counter? It’s easier than you might think. With the right container, nutrient-rich soil, and proper sunlight, you can enjoy your own homegrown lettuce, spinach, and arugula. But there’s more to it than just planting seeds. Let’s explore how you can create a thriving indoor garden that not only looks good but also provides delicious, fresh produce.
Key Takeaways
- Choose easy-to-grow salad greens like arugula, lettuce, and spinach that thrive in small spaces on your kitchen counter.
- Use containers at least 6-12 inches deep with drainage holes, filled with well-draining potting mix and organic compost.
- Position your greens near a south-facing window or use grow lights for 12-16 hours of daily light exposure.
- Water regularly but avoid overwatering; mist leaves and use bottom watering to promote healthy root absorption.
- Harvest outer leaves when they reach 4-6 inches tall to encourage regrowth, and monitor for pests regularly.
Choosing the Right Salad Greens
When it comes to choosing the right salad greens, what do you really want? Freshness and flavor are key!
For your indoor salad garden, think about easy-to-grow options like arugula, lettuce, and spinach.
They sprout quickly and thrive in small spaces, perfect for your kitchen counter.
Consider your taste preferences—crunchy romaine or peppery mustard greens can spice things up.
Don’t forget about nutrient density; kale and Swiss chard pack a punch.
Mix varieties for diverse colors and textures.
Ultimately, pick greens that excite you, making each salad a delightful experience right from your indoor garden. Happy growing!
Additionally, consider growing greens that can be harvested multiple times, such as cut-and-come-again varieties, allowing for continuous production.
Selecting Containers for Growth
When selecting containers for your salad greens, size matters—choose something that gives your plants room to grow.
Consider materials too; lightweight options like plastic can be easy to move, while ceramic adds a touch of style. Make sure to choose containers that are at least 6-12 inches deep for optimal root growth to keep your greens healthy and thriving. Whatever you pick, make sure it has drainage holes to keep your greens healthy and thriving.
Choosing the Right Size
Choosing the right size container for your salad greens is crucial for thriving growth and easy maintenance.
A container that’s too small restricts root development, while one that’s too large may retain excess moisture.
Here are some tips to help you choose wisely:
- Depth: Aim for at least 6-8 inches deep for good root growth.
- Width: A 12-inch diameter is ideal for multiple plants.
- Drainage: Ensure there are enough drainage holes to prevent waterlogging.
- Mobility: Consider a size that’s easy to move around your kitchen counter.
With the right size, your greens will flourish!
Material Considerations for Containers
Selecting the right material for your container can make a significant difference in the health of your salad greens. Consider durability, drainage, and aesthetics when choosing. Here’s a quick guide to help you decide:
| Material | Pros | Cons |
|---|---|---|
| Plastic | Lightweight, affordable | May degrade over time |
| Ceramic | Stylish, retains heat | Heavy, can crack |
| Metal | Durable, modern look | Can heat up quickly |
Soil and Nutrient Requirements
For growing vibrant salad greens on your kitchen counter, the right soil and nutrients are essential.
Choose a quality potting mix designed for container gardening, as it provides good drainage and aeration.
To boost growth, consider adding nutrients through:
- Organic compost – enriches soil with essential microbes.
- Worm castings – provide slow-release nutrients without burning roots.
- Liquid fertilizer – use a diluted version every couple of weeks for a nutrient boost.
- Mulch – helps retain moisture and suppresses weeds.
Additionally, using a budget-friendly soil mix can significantly enhance the productivity of your container garden.
With the right combination, you’ll cultivate lush, healthy greens ready for your next salad!
Optimal Lighting Conditions
To grow your salad greens successfully, you’ll need to pay attention to lighting conditions.
Whether you rely on natural sunlight or opt for grow lights, the right duration and intensity are key to vibrant, healthy plants.
One effective method is to ensure your plants receive optimal lighting conditions for at least 12-16 hours a day, which can significantly enhance their growth.
Let’s explore how to create the perfect lighting setup for your kitchen counter garden.
Natural Light Sources
Natural light is the lifeblood of your kitchen counter garden, playing a crucial role in the growth of salad greens.
To maximize that precious sunlight, consider these tips:
- Choose a sunny spot: Position your greens near a south-facing window for optimal exposure.
- Rotate your plants: Turn them regularly to ensure even light distribution.
- Clean your windows: Dust and grime can block sunlight, so keep those panes sparkling.
- Monitor light levels: If your greens look leggy, they may need more light; if they’re burning, they might need a little shade.
With these simple steps, you’ll nurture vibrant salad greens!
Grow Light Options
Choosing the right grow light can make all the difference in your kitchen counter garden. LED lights are energy-efficient and produce minimal heat, while fluorescent lights are budget-friendly and effective for seedlings. Here’s a quick comparison to help you decide:
| Light Type | Pros |
|---|---|
| LED | Energy-efficient, long-lasting |
| Fluorescent | Affordable, good for seedlings |
| Incandescent | Warm light, easy to find |
| Halogen | Bright, good color rendering |
| HPS | High yield, efficient for large setups |
Pick the one that fits your space, and watch your greens thrive!
Duration and Intensity
How long should you keep your grow lights on for optimal salad green growth?
Aim for about 12-16 hours of light daily.
This duration mimics natural sunlight and encourages healthy growth.
Here’s how to maximize your lighting:
- Position Lights: Keep them 6-12 inches above the greens for even coverage.
- Adjust Intensity: Use a timer to maintain consistent lighting schedules.
- Monitor Growth: Watch for leggy plants—this indicates they need more light.
- Rotate Containers: Turn your pots weekly to ensure all sides receive ample light.
With these tips, you’ll enjoy a thriving salad garden right on your counter!
Watering Techniques and Schedules
Water your salad greens with care to ensure they flourish right on your kitchen counter. Use a spray bottle to mist the leaves lightly, keeping them hydrated without drowning them.
Aim for a watering schedule of every other day, but adjust based on your home’s humidity and temperature. If the soil feels dry an inch down, it’s time to water.
Consider bottom watering by placing your pots in a shallow dish of water for about 15 minutes, allowing the roots to soak up moisture. This method prevents overwatering and encourages deep root growth, giving you crisp, vibrant greens. Additionally, maintaining an effective watering routine can significantly enhance your plants’ vitality and growth.
Harvesting Your Greens
Harvesting your salad greens is simple and satisfying.
Follow these steps for a successful harvest:
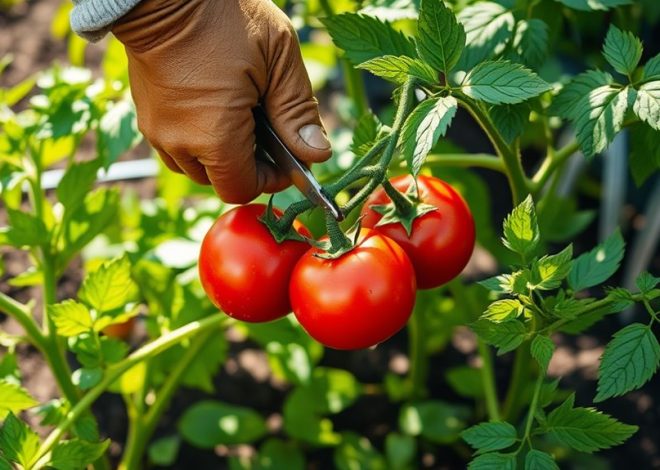
- Timing: Pick your greens when they’re about 4-6 inches tall for the best flavor.
- Cutting: Use clean scissors or shears to snip the leaves. Cut just above the soil line to encourage regrowth.
- Frequency: Harvest regularly to keep your plants producing. Every few days is ideal! Additionally, consider using a simple technique to boost your basil harvest alongside your salad greens.
- Storage: Rinse your greens, dry them gently, and store in a breathable container in the fridge for maximum freshness.
Enjoy your homegrown salad!
Maintaining Your Indoor Garden
Maintaining your indoor garden requires consistent attention to detail and a bit of creativity. Start by checking your greens daily; they thrive on routine.
Ensure they get adequate light—rotate them if necessary to prevent uneven growth. Water them when the soil feels dry, but don’t drown them; overwatering can be just as harmful. Keep an eye out for pests, and act quickly if you spot any. Experiment with companion planting to boost growth and flavor.
Lastly, enjoy the process! Take time to appreciate your thriving greens, and don’t hesitate to tweak your methods as you learn what works best.