Make Your Own Self-Watering Pots at Home
Make Your Own Self-Watering Pots at Home
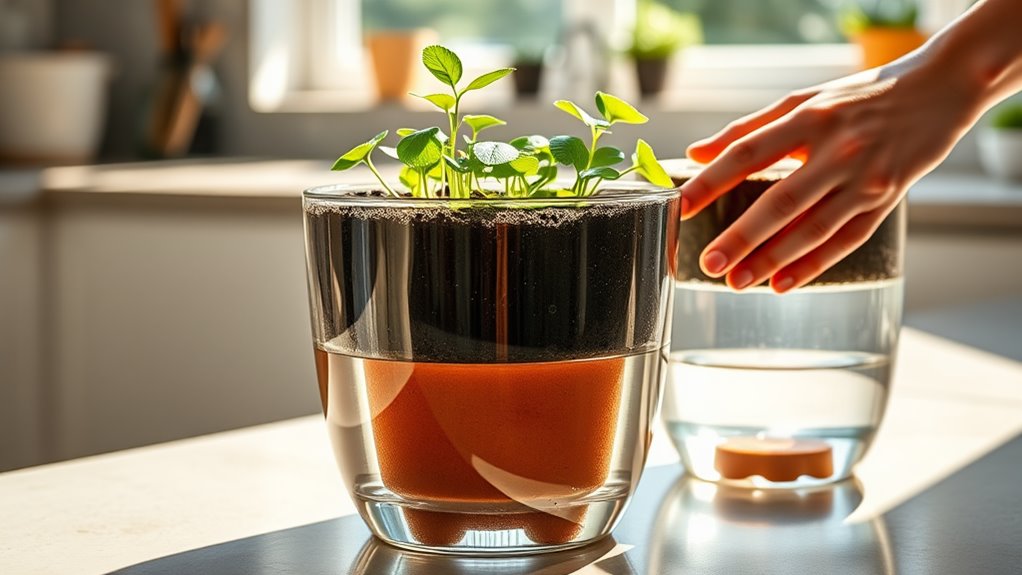
Just like the ancient Egyptians mastered irrigation techniques to nurture their crops, you can create your own self-watering pots at home with simple materials. This method not only conserves water but also ensures your plants receive consistent moisture. By utilizing a few everyday items, you can set up a system that takes the guesswork out of watering. Curious about how to get started? Let’s explore the steps to make this eco-friendly solution a reality.
Key Takeaways
- Use a plastic container with drainage holes and a smaller cup for the water reservoir to create your self-watering pot.
- Cut a plastic bottle in half; the bottom half will hold soil while the top half acts as a water reservoir.
- Insert a wicking material, like cotton rope, from the water reservoir into the soil to facilitate capillary action for moisture.
- Regularly check the water reservoir to prevent overfilling and root rot while maintaining consistent soil moisture.
- Clean the wicking mechanism and drainage holes periodically to ensure optimal water flow and prevent clogging.
Materials Needed for Self-Watering Pots
To make your own self-watering pots, you’ll need a few essential materials that are easy to find.
First, grab a plastic container or pot with drainage holes; this will be your primary vessel.
Next, you’ll need a smaller container, like a plastic cup, to hold the water.
You’ll also want some wicking material—cotton rope or strips of fabric work great.
Don’t forget a waterproof sealant to ensure no leaks occur.
Lastly, consider a drill or knife for making holes. Additionally, using self-watering pots can lead to healthier plants by maintaining consistent moisture levels in the soil.
With these materials, you’re well on your way to creating effective and efficient DIY self-watering pots!
Preparing the Containers
Before you start assembling your self-watering pots, it’s crucial to properly prepare the containers.
First, clean the pots thoroughly to remove any dirt or residue.
This prevents mold and ensures better plant health.
If your container has drainage holes, consider covering them with mesh or fabric to keep soil from escaping while allowing water to flow freely.
Next, if you’re using plastic containers, drill additional holes near the bottom for improved water access.
Lastly, if you’re repurposing old containers, check for cracks or leaks, and patch them up to maintain a stable environment for your plants. Additionally, consider using broken pots creatively as unique planters, which can add a charming aesthetic to your gardening project.
Creating the Water Reservoir
To create an effective water reservoir for your self-watering pots, start by choosing the right container that can hold enough water without leaking.
Next, you’ll need to add a water outlet at the bottom to allow excess water to drain, preventing root rot.
This setup ensures your plants receive a consistent moisture level, promoting healthy growth. Additionally, consider implementing a drip irrigation system to further enhance water efficiency and distribution in your garden.
Choosing the Right Container
How can you choose the best container for your self-watering pots?
First, select a container that’s sturdy and non-toxic, like plastic, ceramic, or metal.
Ensure it has a flat bottom for stability.
Aim for a size that fits your plant’s root system while allowing for adequate water storage.
A container with a wider base promotes better water distribution.
Look for one with a depth of at least 6-8 inches, providing sufficient room for roots and the water reservoir.
Consider color too; darker shades absorb heat better, which can help maintain warm soil temperatures for your plants.
Adding Water Outlet
Creating a water reservoir is essential for your self-watering pot, as it ensures your plants receive a steady supply of moisture. To add a water outlet, drill a small hole in the bottom of your container just above the reservoir level. This allows excess water to drain, preventing root rot. Here’s a quick overview of materials and steps:
| Material | Purpose |
|---|---|
| Container | Holds the plant and soil |
| Drill | Creates drainage holes |
| Watering tube | Connects reservoir to pot |
| Pebbles | Supports soil drainage |
| Capillary wick | Draws water to soil |
Assembling the Self-Watering System
Now that you’ve created your water reservoir, it’s time to assemble your self-watering system. Gather the necessary materials, including a container, wicking material, and a lid, to ensure everything fits together properly. Following essential container gardening tips can help you choose the best materials for optimal plant health. Follow these simple assembly steps to complete your self-watering pot and keep your plants thriving.
Materials Needed
Gathering the right materials is crucial for assembling your self-watering pots effectively. You’ll need a few key items to ensure the system works smoothly. Here’s a quick list to help you gather everything you need:
| Item | Purpose |
|---|---|
| Plastic container | Holds soil and plants |
| Smaller container | Acts as the water reservoir |
| Wicking material | Transfers water to the soil |
| Drill | Creates drainage holes |
| Potting soil | Provides nutrients for your plants |
Make sure you have all these materials on hand before you start assembling your self-watering pots!
Assembly Steps
With all your materials ready, you can begin assembling your self-watering pots.
Start by cutting the plastic bottle in half.
Take the bottom half and fill it with soil, leaving enough space for your plant.
Next, place the top half upside down into the bottom half, ensuring the neck is submerged in the soil.
Create a wick by cutting a strip of cloth and placing one end in the water reservoir (the bottom half) and the other in the soil.
Finally, add water to the reservoir, and your self-watering pot is ready to keep your plants hydrated!
Adding Soil and Plants
Once you’ve assembled your self-watering pot, it’s time to fill it with soil and add your favorite plants.
Start by adding a layer of small stones or gravel at the bottom for drainage.
Next, fill the pot with a high-quality potting mix, leaving a couple of inches from the top.
Make a small hole in the center for your plant’s roots.
Gently place the plant into the hole, ensuring it’s at the same depth it was in its original container.
Fill in around the sides with more soil, pressing down lightly.
Water the soil to help settle it around the roots. It’s also important to choose suitable plants that thrive in container gardens to ensure a successful growing experience.
Maintenance Tips for Self-Watering Pots
Maintaining your self-watering pots is essential for keeping your plants healthy and thriving.
Regularly check the water reservoir to ensure it’s filled, but avoid overfilling, which can lead to root rot. Clean the wicking mechanism and drainage holes periodically to prevent clogging.
Monitor soil moisture levels—if the surface feels dry, it may be time to refill. Remove any dead leaves or debris to discourage pests and diseases.
Adjust your watering schedule based on seasonal changes and plant growth. Additionally, be mindful of common watering mistakes, as they can negatively impact your plants’ health. Finally, inspect for any cracks or wear in the pot and replace components as needed to ensure optimal performance.
Benefits of Using Self-Watering Pots
Self-watering pots offer a range of benefits that can significantly enhance your gardening experience. They help maintain consistent moisture levels, reducing the risk of over- or under-watering. This means your plants thrive with less effort on your part.
You won’t need to water as frequently, saving you time and energy. Additionally, self-watering pots can prevent waterlogging, which protects root health. They’re also ideal for indoor gardening, ensuring your plants stay hydrated even when you’re busy.
Plus, using these pots can promote healthier growth, resulting in more vibrant foliage and blooms. Embrace this convenient solution for a flourishing garden!