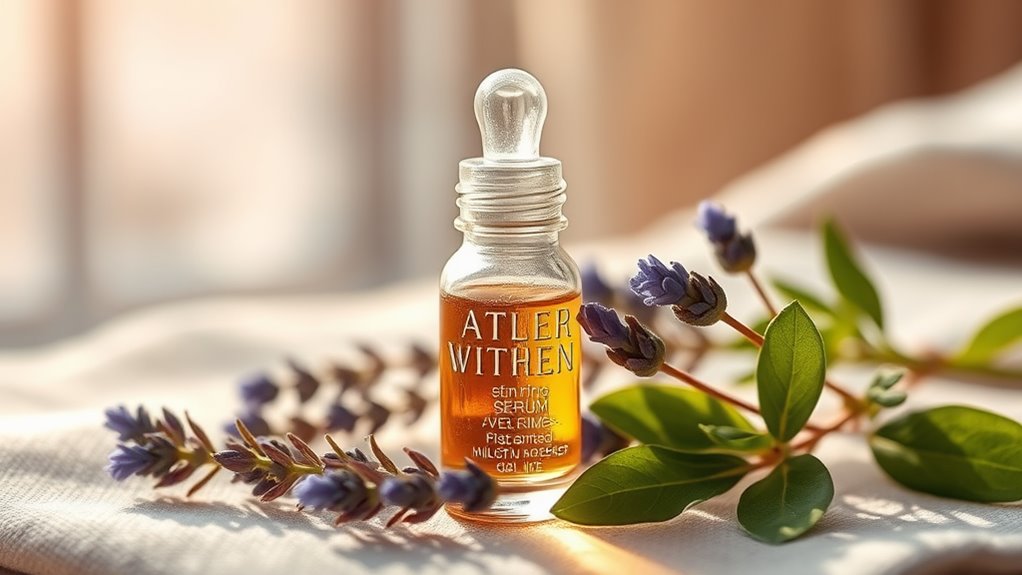
This Homemade Serum Fades Fine Lines Fast
This Homemade Serum Fades Fine Lines Fast
Did you know that many commercial anti-aging products contain synthetic ingredients that can irritate your skin? Instead, you can create a homemade serum that effectively fades fine lines using natural components. By incorporating ingredients like hyaluronic acid, vitamin C, and rosehip oil, you can achieve a smoother, more youthful complexion. Curious about how to make this serum and apply it for optimal results? Let’s explore the steps you’ll need to take.
The Benefits of DIY Serums for Skin Care
Have you ever wondered why DIY serums are gaining popularity in skin care routines?
An anti-aging serum DIY allows you to customize ingredients tailored to your skin’s unique needs.
You can avoid harmful chemicals often found in commercial products, promoting healthier skin.
Creating your serum can also be cost-effective, as you can utilize affordable, natural components.
Plus, the satisfaction of making something yourself adds a personal touch to your skincare regimen. Additionally, DIY serums often include natural ingredients that are proven to rejuvenate your skin effectively.
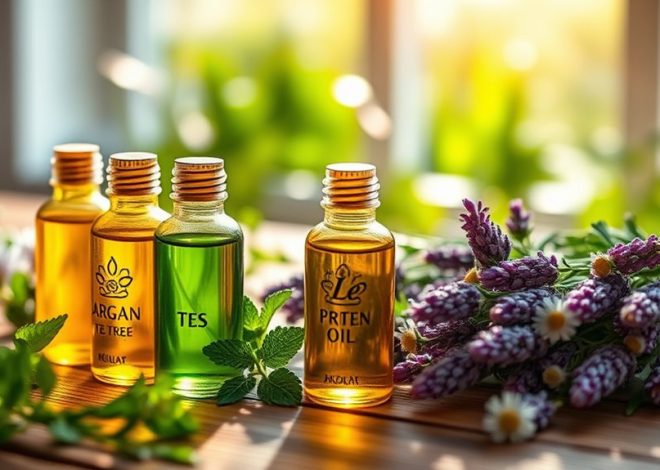
Key Ingredients for an Effective Anti-Aging Serum
Crafting your own anti-aging serum means knowing which ingredients can truly make a difference in reducing fine lines.
Look for hyaluronic acid, a powerful hydrator that plumps skin and smooths texture. Vitamin C is essential for brightening and boosting collagen production, while retinol accelerates cell turnover, diminishing fine lines.
Incorporating peptides can enhance elasticity and firmness, providing a youthful appearance. Don’t forget antioxidants like vitamin E, which protect against environmental damage.
Lastly, consider adding rosehip oil for its nourishing properties and ability to promote skin regeneration. Creating an anti-aging cream at home with these key ingredients, you’re on your way to creating an effective anti-aging serum.
Step-by-Step Guide to Making Your Homemade Serum
Creating your own homemade serum is a rewarding way to address fine lines and rejuvenate your skin. Follow these steps to craft your serum effectively:
| Step | Action | Notes |
|---|---|---|
| 1 | Gather ingredients | Choose high-quality oils |
| 2 | Measure components | Use precise measurements |
| 3 | Mix in a glass container | Stir gently to combine |
| 4 | Transfer to a dark bottle | Protect from sunlight |
| 5 | Label with date | Use within 3 months |
Additionally, incorporating natural remedies can further enhance the effectiveness of your serum in promoting youthful skin.
How to Apply the Serum for Maximum Results
Wondering how to maximize the benefits of your homemade serum?
Start by applying it on clean, dry skin—preferably after cleansing and toning.
Use a few drops, warming it between your fingers before gently patting it onto your face, focusing on areas with fine lines. This technique encourages absorption.
Don’t forget your neck and décolletage, as they also show signs of aging.
Allow the serum to absorb completely before applying moisturizer or sunscreen.
For best results, use it twice daily, in the morning and evening. Consistency is key, so make it a part of your daily skincare routine. Additionally, incorporating a natural skincare routine can further enhance the effectiveness of your serum.
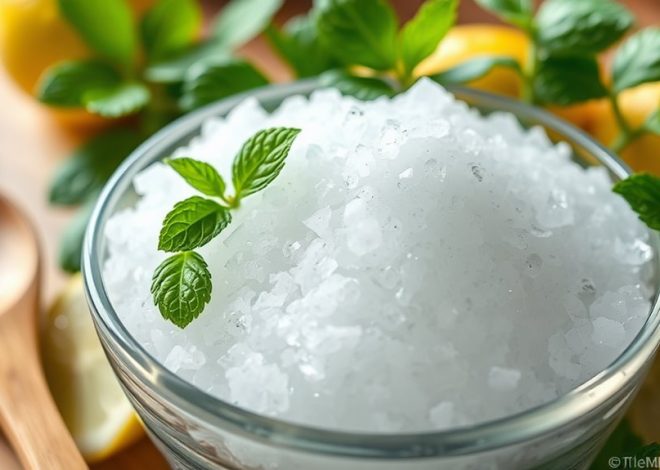
Tips for Storing Your Homemade Serum
To keep your homemade serum effective, choosing the right storage container is crucial; opt for dark glass bottles to protect against light exposure.
Store your serum in a cool, dry place, ideally between 60-70°F, to maintain its potency. Additionally, incorporating natural ingredients into your serum can enhance its effectiveness and support healthy skin.
Lastly, be mindful of its shelf life, as homemade serums typically last about one to three months, depending on the ingredients used.
Ideal Storage Containers
Choosing the right storage container for your homemade serum can significantly impact its effectiveness and longevity.
Consider the following options:
- Amber Glass Bottles: These protect your serum from UV light, preserving its potency.
- Dropper Bottles: They allow for precise application, minimizing contamination and waste.
- Airless Pump Containers: These prevent air exposure, which can degrade the ingredients over time.
When selecting a container, ensure it’s clean and dry.
Avoid plastic, as it may leach harmful chemicals.
Proper storage not only maintains the serum’s quality but also enhances your skincare routine, allowing for maximum benefits.
Optimal Temperature Conditions
What temperature should you aim for when storing your homemade serum?
Ideally, keep it in a cool, dark place, around 15-25°C (59-77°F).
High temperatures can degrade the serum’s active ingredients, while extreme cold may cause separation or crystallization.
Avoid leaving it near windows, stoves, or other heat sources.
If you’re in a particularly hot climate, consider refrigerating the serum, but be mindful of condensation when taking it out.
Always seal the container tightly to prevent moisture and contaminants from affecting its quality.
Proper temperature management ensures your serum remains effective and prolongs its usability.
Shelf Life Awareness
How long can you expect your homemade serum to last?
Typically, your serum will remain effective for 1 to 3 months, depending on the ingredients.
To maximize its shelf life, follow these tips:
-
Use Dark Glass Bottles: These protect against light exposure, which can degrade your serum.
-
Store in a Cool, Dry Place: Avoid heat and humidity, as they can compromise the serum’s integrity.
-
Label with Date: Mark the creation date to track freshness and ensure you use it within the ideal time frame.
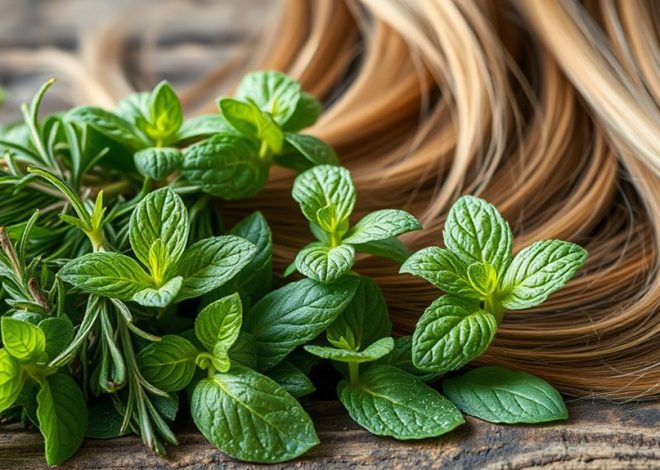
Additional Natural Remedies to Complement Your Serum
To enhance the effectiveness of your homemade serum, consider incorporating hydrating ingredients like aloe vera and hyaluronic acid.
Essential oils such as lavender and frankincense can also provide additional skin benefits, promoting elasticity and reducing fine lines.
Lastly, small lifestyle changes, like staying hydrated and protecting your skin from sun damage, can further contribute to a youthful appearance.
Hydrating Ingredients to Use
Incorporating hydrating ingredients into your homemade serum can significantly enhance its effectiveness against fine lines.
Here are three excellent options to consider:
- Aloe Vera: Known for its soothing properties, aloe vera is a natural moisturizer that hydrates without clogging pores.
- Hyaluronic Acid: This powerful humectant attracts moisture, helping to plump the skin and reduce the appearance of fine lines.
- Glycerin: A natural moisturizer, glycerin draws water to the skin, ensuring it stays hydrated and supple.
Adding these ingredients won’t only boost hydration but also improve overall skin texture, giving you a more youthful appearance.
Essential Oils Benefits
While hydrating ingredients play a vital role in your homemade serum, adding essential oils can further elevate its effectiveness against fine lines.
Essential oils like lavender and frankincense are known for their skin-rejuvenating properties. Lavender oil soothes inflammation and promotes healing, while frankincense enhances skin elasticity and reduces the appearance of wrinkles.
Incorporating a few drops into your serum can provide additional antioxidants and nutrients, boosting your skin’s radiance.
Always dilute essential oils with a carrier oil to prevent irritation.
With consistent use, these oils can complement your serum, making your skin look vibrant and youthful.
Lifestyle Changes for Youthfulness
Have you considered how lifestyle changes can enhance the effectiveness of your homemade serum for fine lines?
Integrating simple yet impactful habits can amplify your results.
Here are three changes to consider:
-
Hydrate: Drinking plenty of water keeps your skin plump and reduces the appearance of fine lines.
-
Balanced Diet: Incorporate antioxidants from fruits and vegetables to combat oxidative stress and promote youthful skin.
-
Regular Exercise: Physical activity increases blood circulation, delivering essential nutrients to your skin and promoting a healthy glow.
Real Results: Testimonials From Users
How do users feel about the homemade serum for fine lines?
Many rave about its effectiveness, sharing impressive results.
You’ll find testimonials highlighting smoother skin and diminished fine lines within weeks.
Users often mention how affordable and easy it’s to make, making it a popular choice.
Some report that their skin feels more hydrated and youthful, boosting their confidence.
Others appreciate the natural ingredients, noting fewer irritations compared to commercial products.